Chic at Home: Super Easy DIY Triangle Shelves
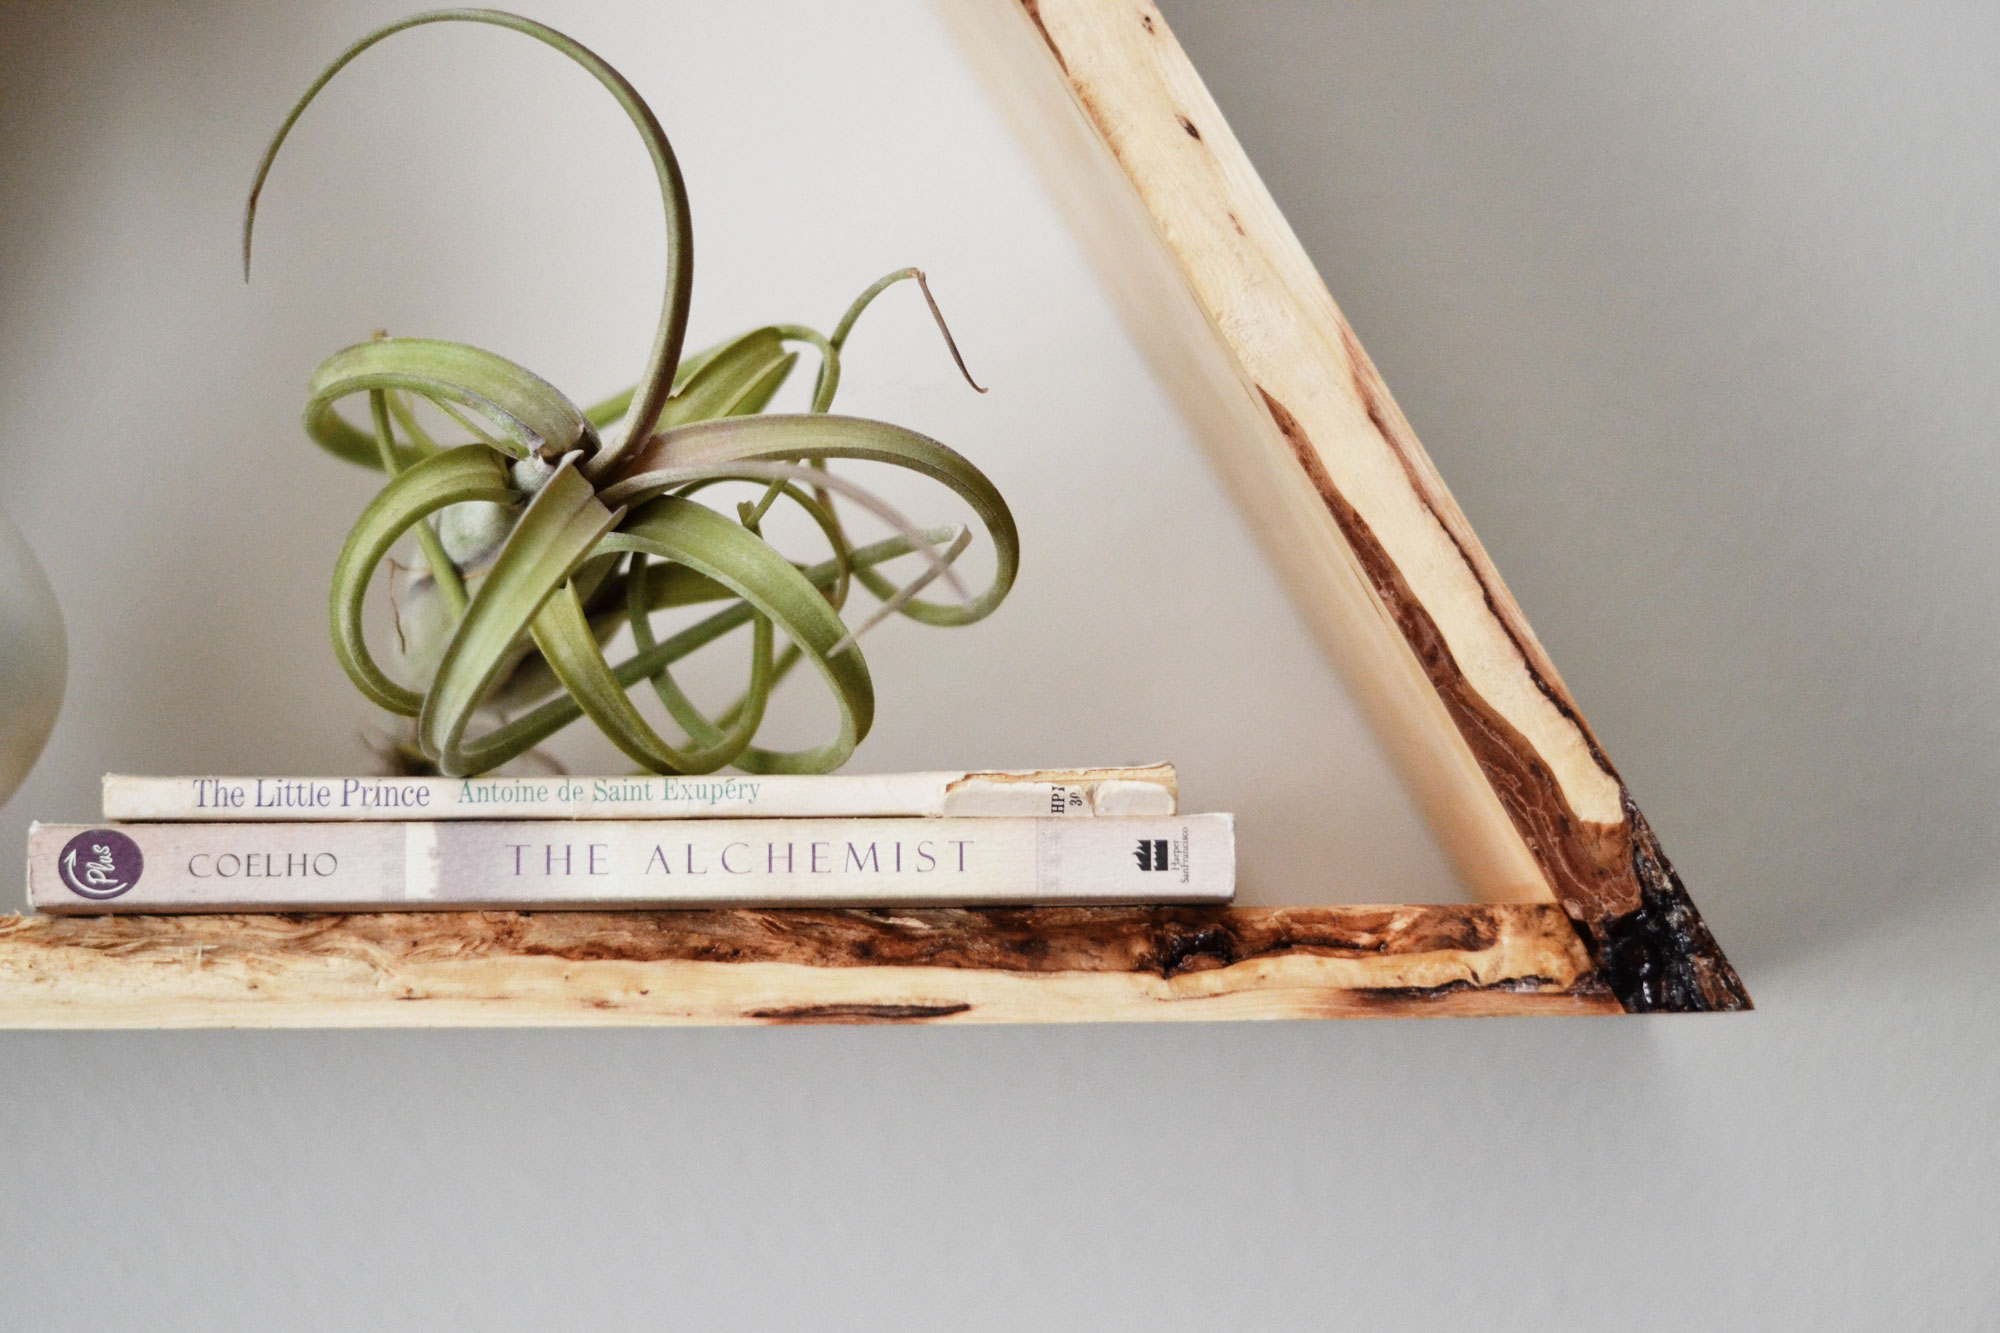
I don’t know about ya’ll but I am OBSESSED with hanging shelves in all shapes and sizes! I first came across them scrolling through Instagram one day and thought they were such a clever way to display succulents, books and knick-knacks, plus they add such a cool vibe to any space. For Christmas my sister presented me with a Home Depot gift card since she knew I had been wanting to make these; I’d recently been redecorating my entire home with innovative new products that I’d fallen in love with, like peel and stick mural wallpaper and white varnished floorboards, and I wanted these shelves to be the icing on the cake. So, that weekend we headed off to get our DIY on. Turns out, they are SUPER EASY to make so long as you have the right tools to make it happen (like an AH-mazing sister).
So if you are in the mood for a DIY project this post is for you! One of my favorite parts about this is you can choose any kind of wood and size you want! My sister and I found this really cool ‘damaged’ wood at Home Depot which added such a cool amount of character to the pieces! Reclaimed wood, knotty pine, cedar…the sky is the limit! It’s not just wood that you could use by the way. Why not check out this Dallas sheet metal fabrication if you fancy doing something completely different!
Check out the easy steps below to make DIY triangle shelves of your very own! Trust me, if I can do it so can you! 🙂
How to Make DIY Triangle Shelves of Your Own:
What You’ll Need to Make the Shelves:
- Wood of your Choosing
- A Mitre Saw (Or in my case, my sisters Mitre saw)
- Wood Glue
- Pencil
- Measuring Tape
I buy most of my DIY supplies such as joist hangers, from Tradefix Direct. Their products are great quality and even better prices! You can’t go wrong!
Directions to Make the Shelves:
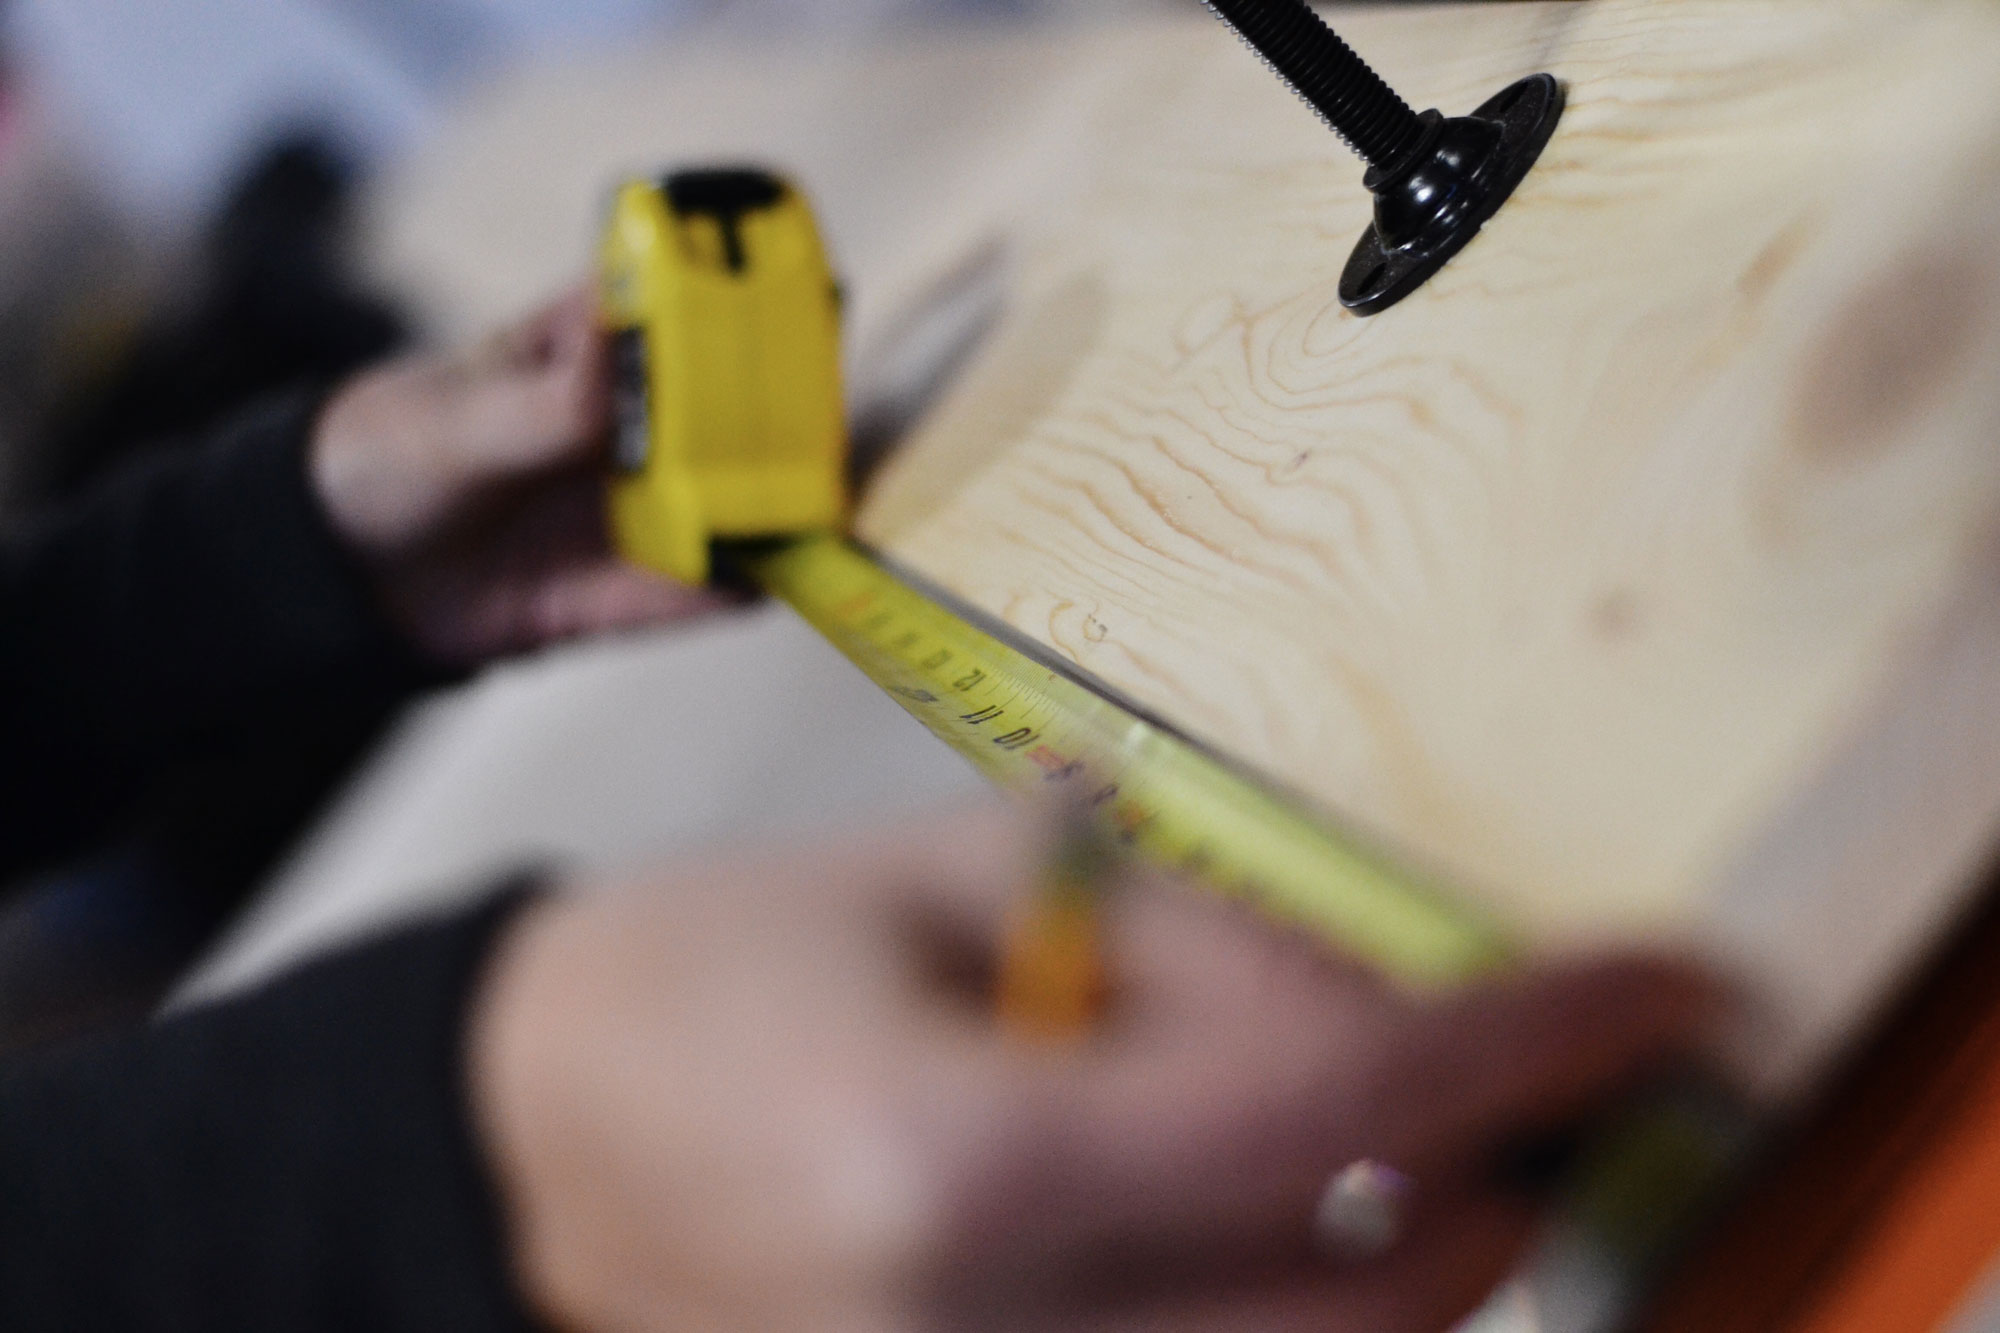
- Measure wood into (3) 18? pieces (per shelf) and mark with a pencil.
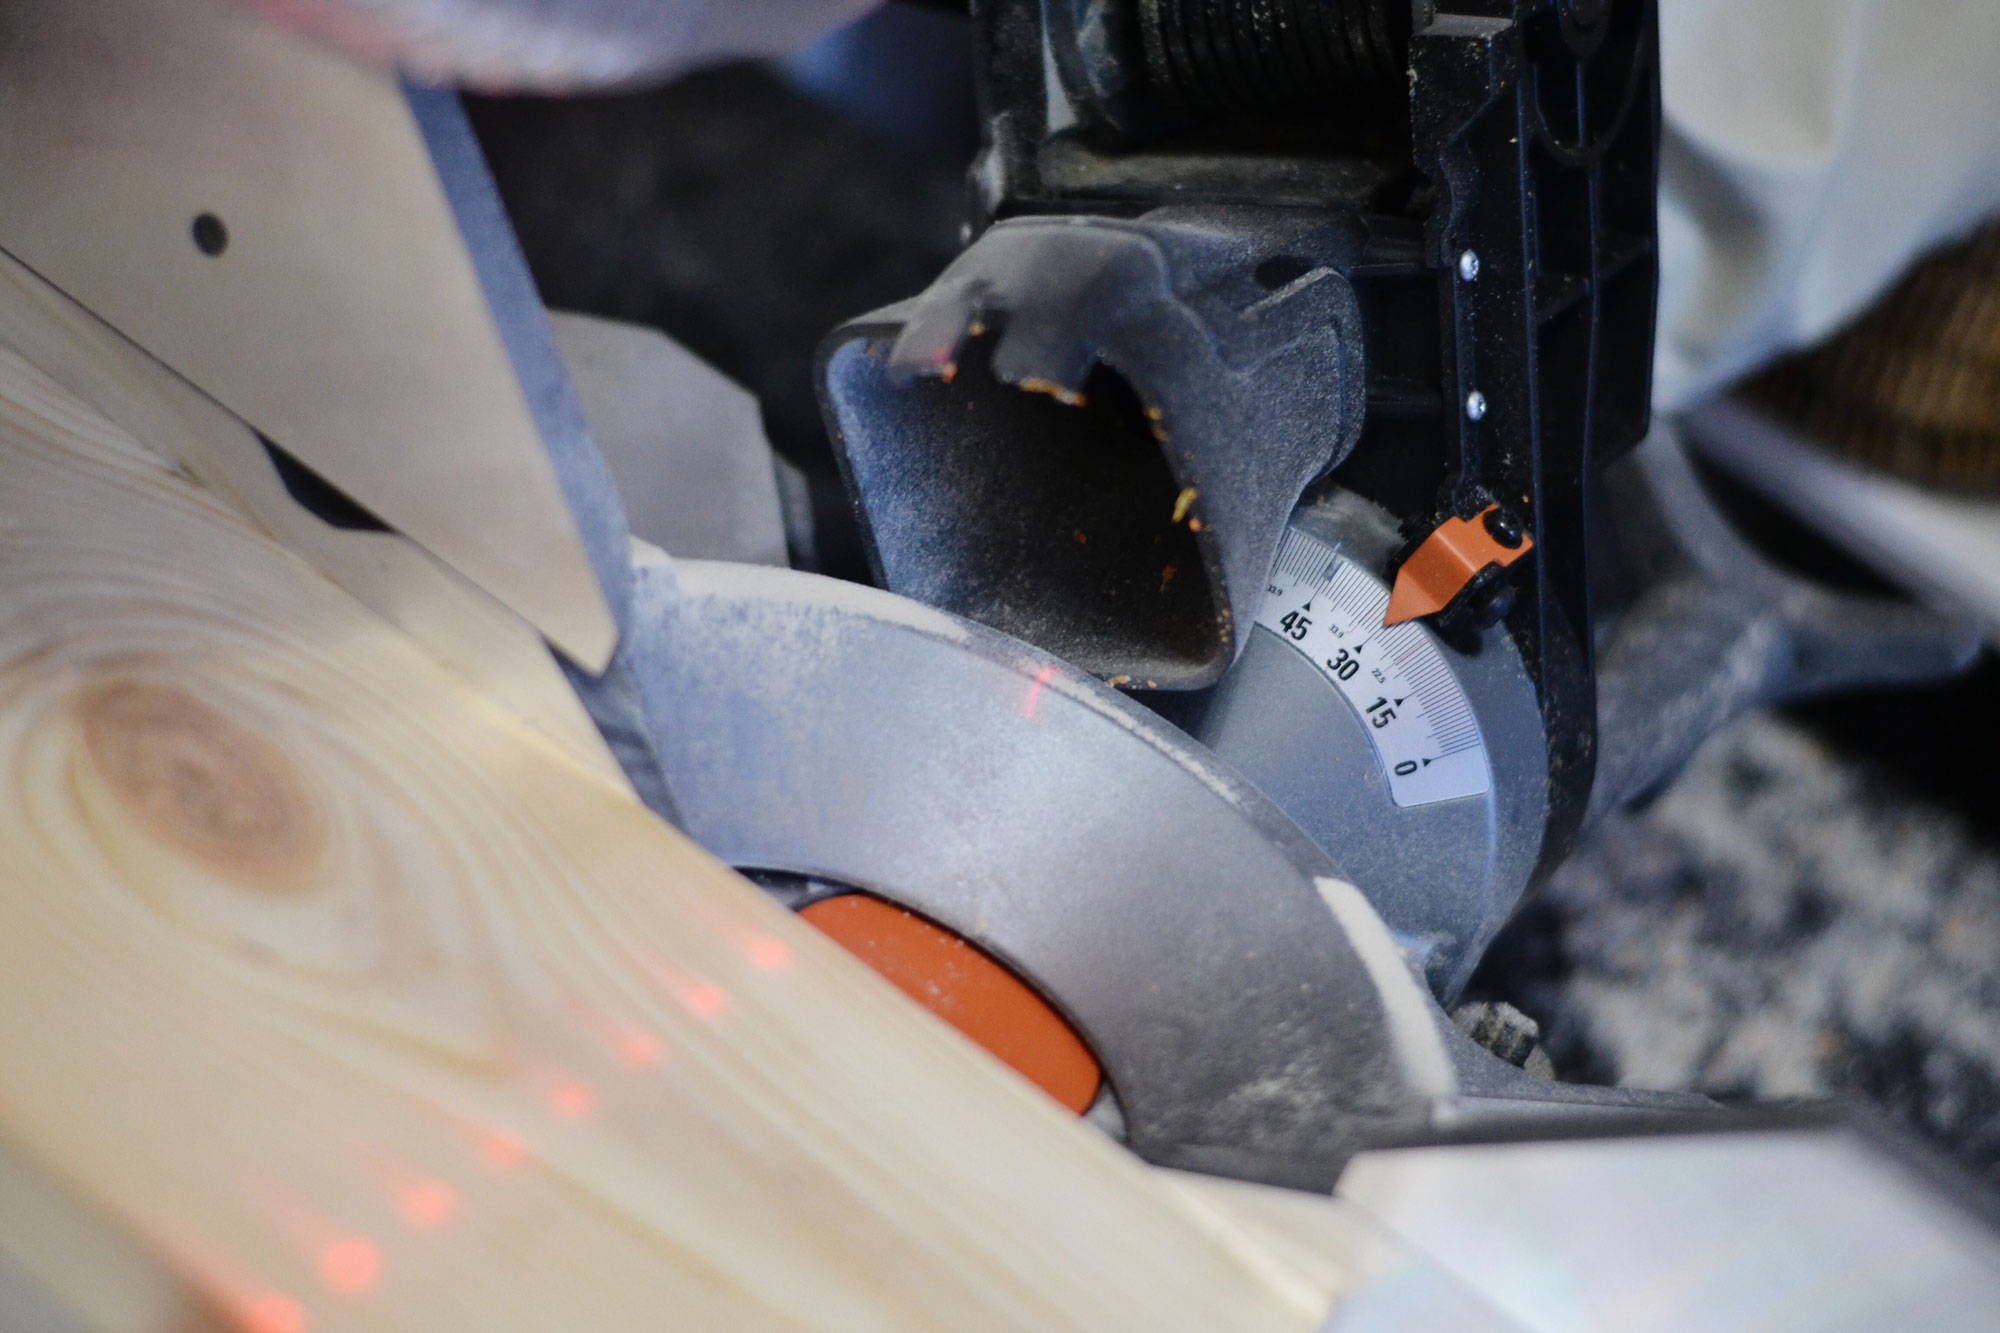
- Set your mitre saw to a 30 degree angle and make your first cut, then flip wood 180 degrees and cut it again at a 30 degree angle so the cuts mirror each other on each end.
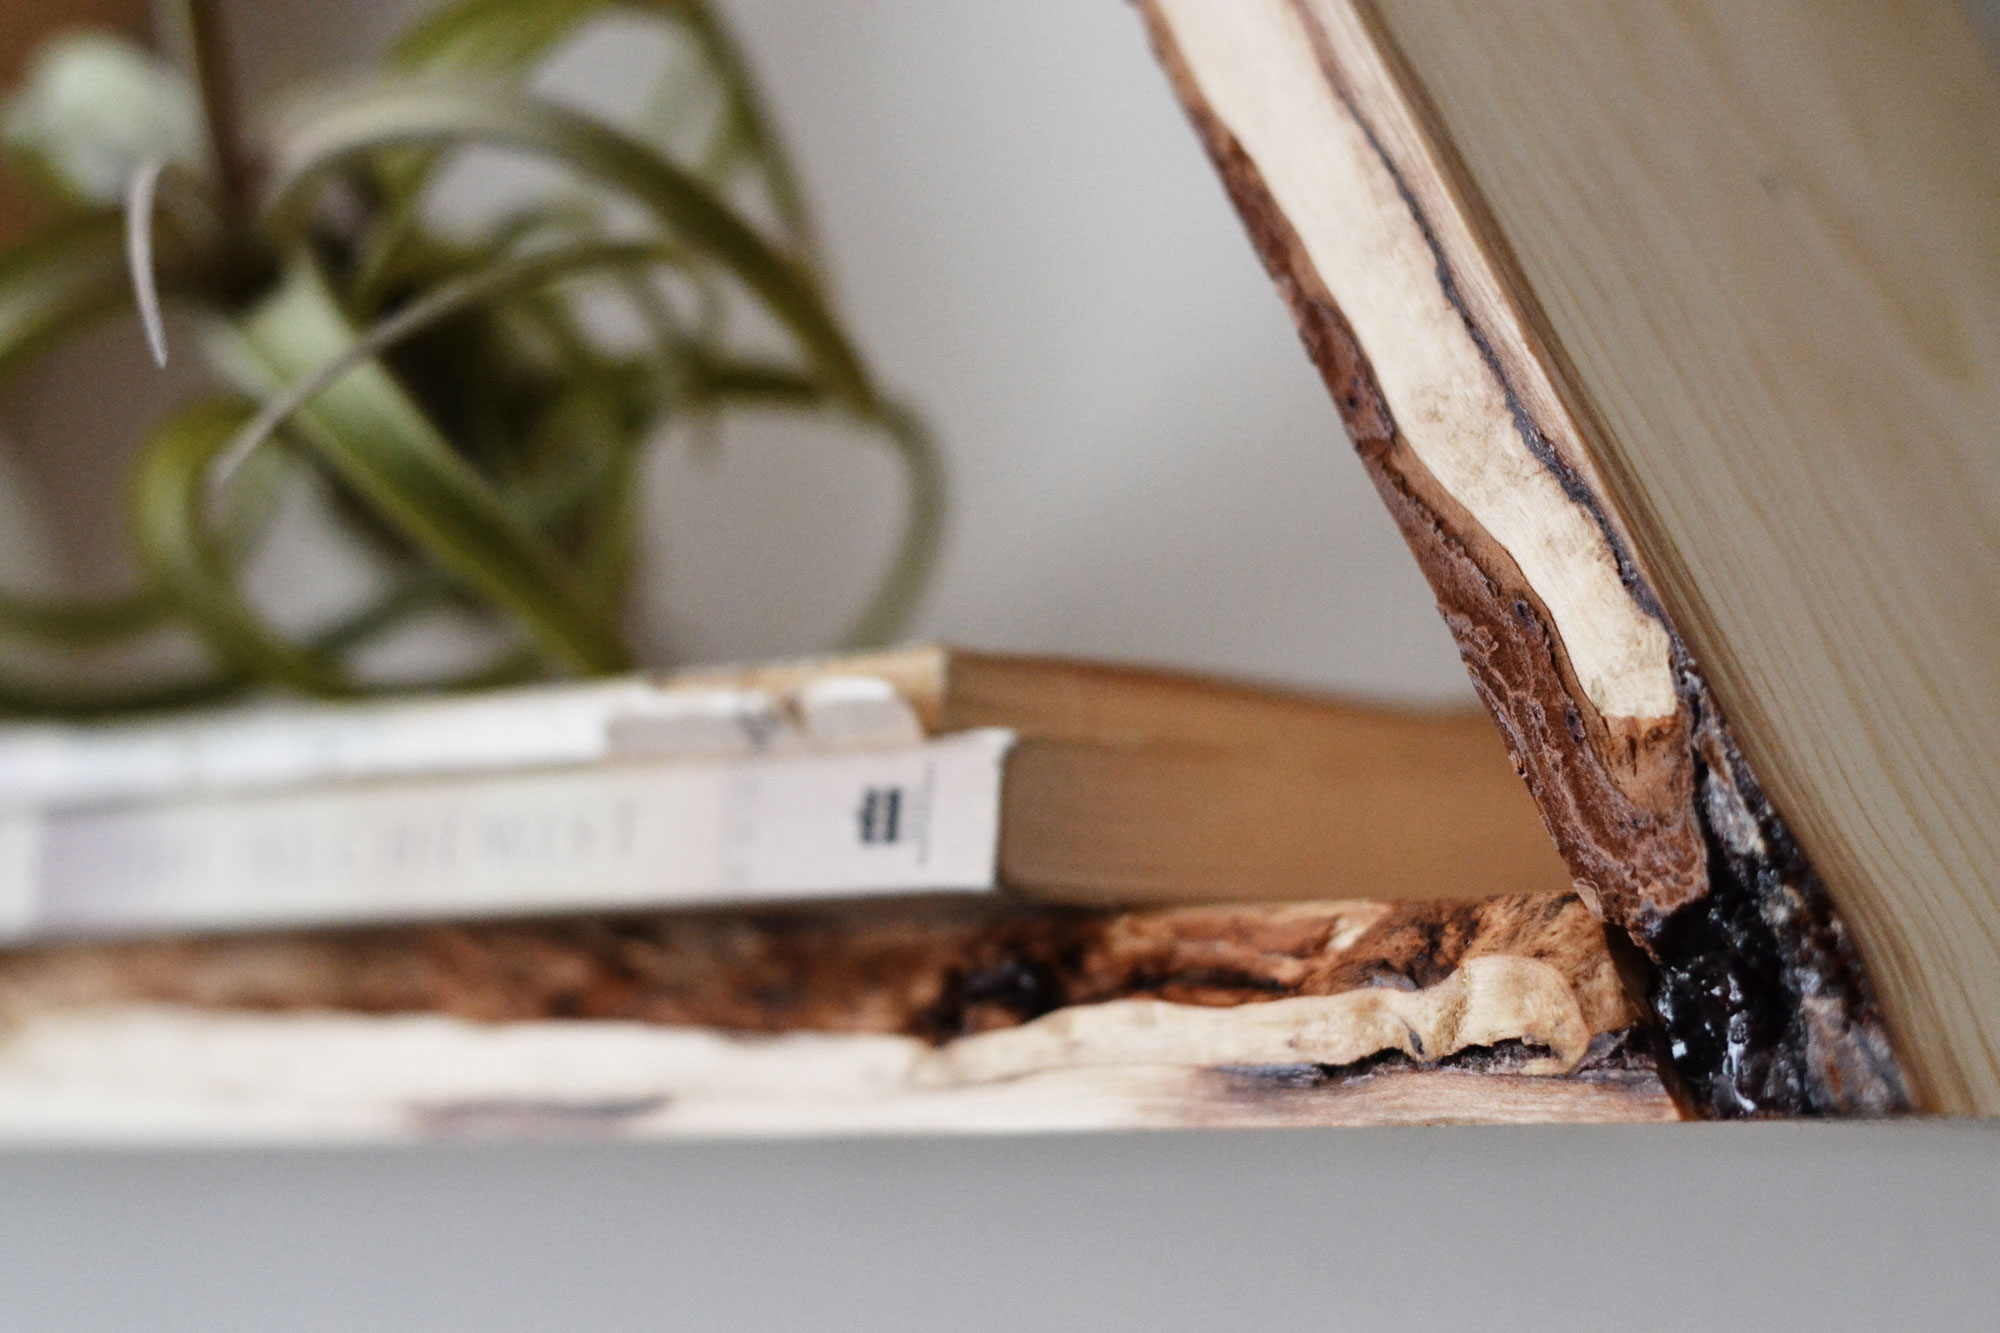
- Once you have all your wood pieces cut, lay out the triangle shelf so that all of the 18″ sides face inward. At first I was freaking out because the ends of my shelves didn’t match up, but don’t freak they don’t go end to end! See below for a closer look of how and where they connect!

- Add wood glue to the ends and glue two pieces together – some people suggest nailing the shelves together…I didn’t and mine are doing great, but I only use them for displaying small items…if you plan on storing you entire library of books on them…might be a good idea to nail them together for some added security – just have someone hold the shelves for you so they don’t shift or fall apart.
- Repeat Step 4 for the remaining two sides of the shelves until you have all three pieces glued together.
- Clean up any excess glue with a wet washcloth or a damp Q-tip for tight corners and let them dry overnight.
- You can finish the shelves with a clear coat, wood stain or even paint them, but I loved the raw nature of my shelves as is!
- Voila!!! You are ready to hang your new fancy wall decor!
DIRECTIONS TO MOUNT YOUR SHELVES – Here are several ways to hang your shelves:
- You can drill two holes in the back sides of your shelves slightly larger than the nails you will mount them with. Then slide the shelves onto the nails in the wall – this is what I did thanks to my boy Joe at Bedford Built who helped me (thanks Joe!).
- You can hang them with a single nail in the top corner of your shelf.
- You can use velcro brand removable wall hangers (my sister swears by these to hang her art but I was a little weary since these shelves are right above my TV and I didn’t want to come home to a fiasco).







Comments
Trackbacks & Pingbacks
[…] Make it using wood planks, stain or recycled, regenerated and recycled paint to create a personalized charm. Complete practical instructions here chicanddisheveled […]
[…] Make it using recycled, reclaimed, and upcycled wood planks, stain, or paint to create a custom appeal of it. Full how-to instructions here chicanddisheveled […]
[…] Make it using recycled, reclaimed, and upcycled wood planks, stain, or paint to create a custom appeal of it. Full how-to instructions here chicanddisheveled […]